

Having conducted your research interviews, it’s time to get them transcribed. First you need to get them to your transcriber. If you recorded your interviews in a wav format, which is what I recommend you do – so that you have the best audio quality possible, their file sizes will be huge. About 1GB for an hour long interview. And if you have 50+ interviews, it’s very hard to share and store 50GB of audio data.
To reiterate, it is imperative to record your research interviews in an uncompressed format (wav) so that you can have the best quality audio for editing and archival purposes. You can record your interviews straight to a compress format, for instance mp3, but you never know what use you’ll have for your data in the future or if you’ll need to edit them. Maybe you’ll want to perform conversational analysis. The only downside to wav files is their relatively large size, they are cumbersome to share with a transcriber that provides interview transcription services.
So, what do you need to do? Your best option is to convert the files into mp3 format. I’ll show you how in a moment. But the mp3 format is one of the most popular compressed audio format that gives you a small file size and decent audio quality. Furthermore, it supported by most (if not all) audio transcription software. Using the mp3 format an hour long interview can be compressed to about 140MB mp3 file from a 1GB wav file. That’s 7 times smaller file size with barely discernible loss in audio quality! Here’s a great post on understanding wav and mp3 audio file formats
How to convert wav to mp3 files using Audacity
So how do you compress your research interview audios into the mp3 format? Here are the 4 steps you need to follow to convert wav files into mp3.
- Download and Install Audacity
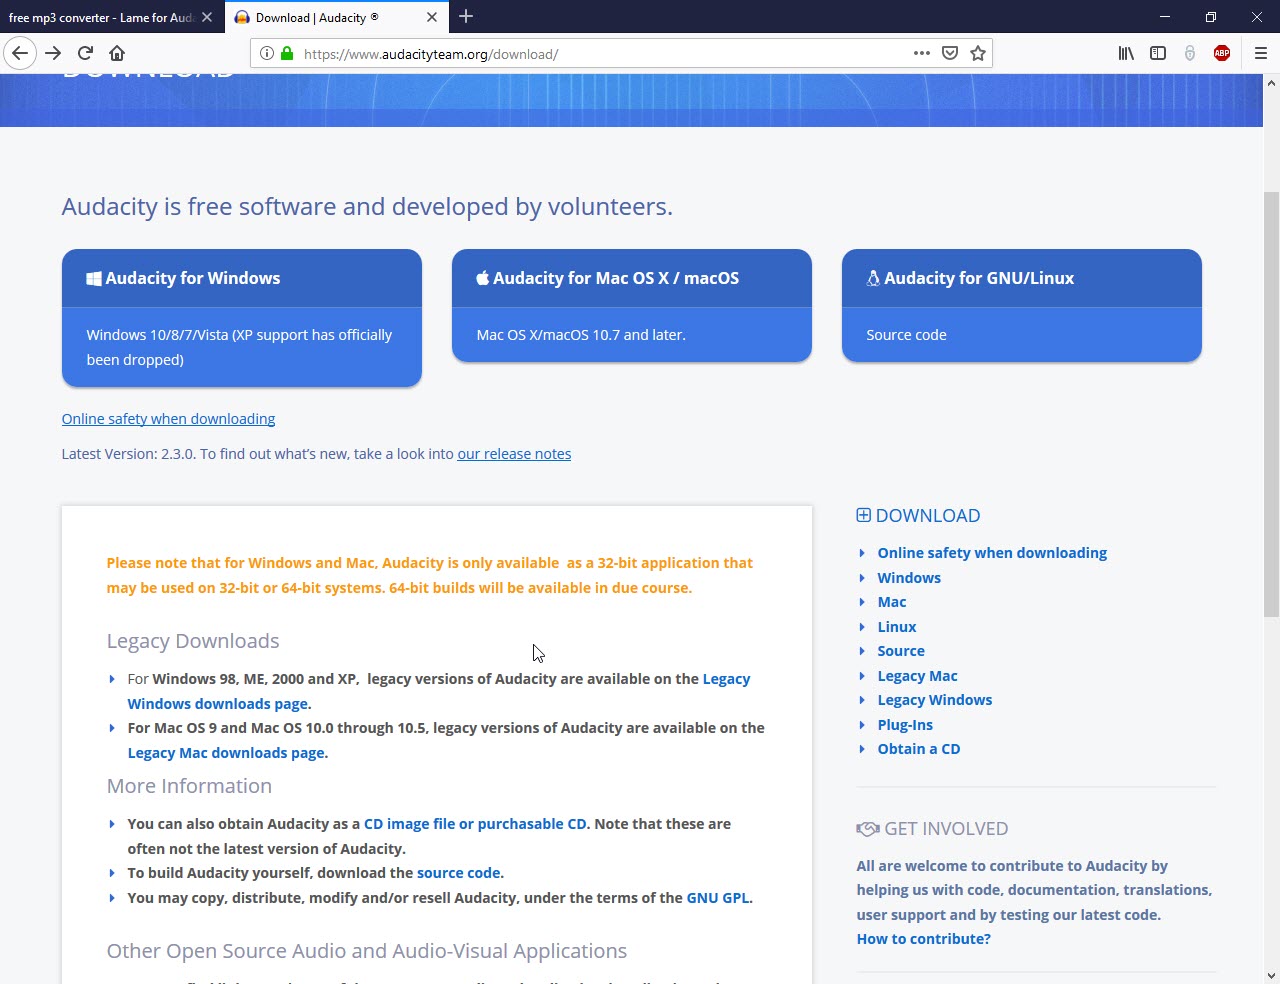
Audacity is a free (as in beer), professional audio editor and recorder for windows, Mac, and Linux. You can download the latest version here.
Installing Audacity is pretty easy, simply follow the prompts and you should have it installed in under a minute. - Download and Install Lame and FFmeg
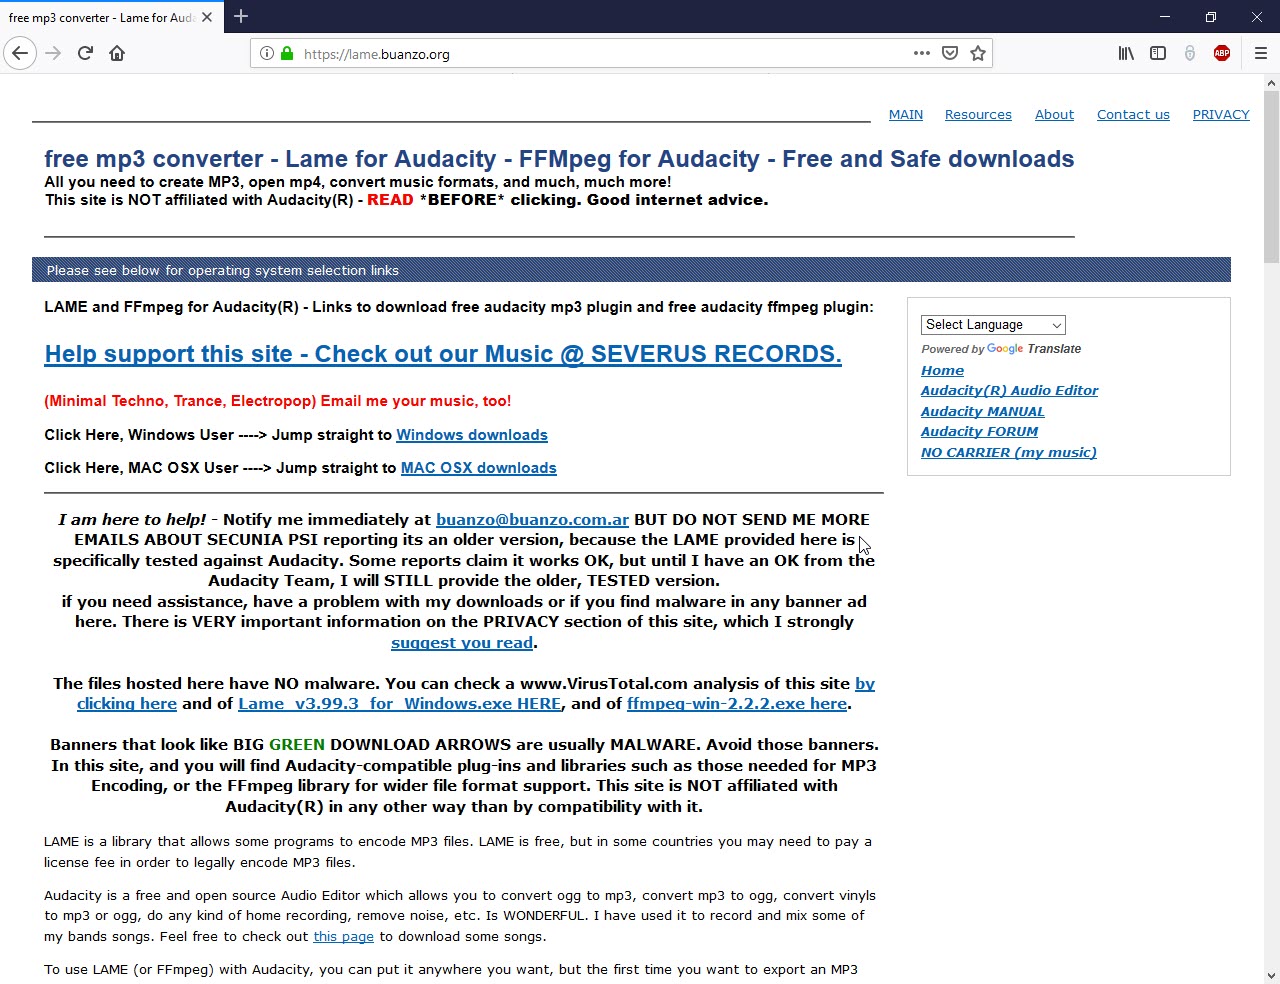
Audacity does not natively support the mp3 and many other audio file formats. Lame and FFmeg fix that. Download LAME and FFmeg here.
Double click on LAME and FFmeg and follow the prompts to install. After installation, open Audacity, go to Edit > Preferences > Library to see if the LAME and FFmeg have been installed correctly. - Open your Wav files in Audacity
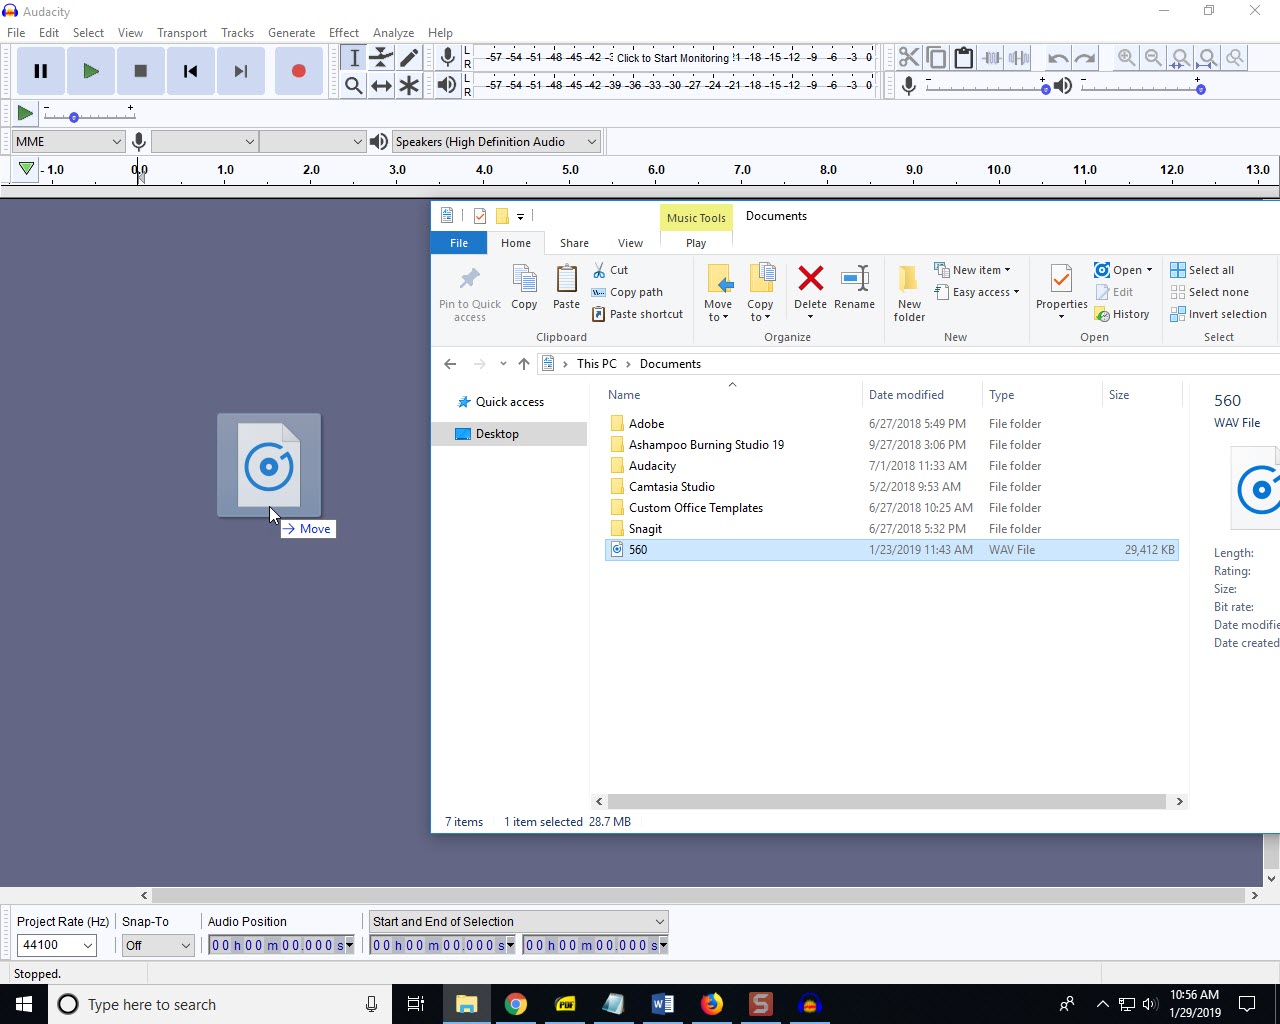
The easiest way to open your files in Audacity is to drag and drop them into Audacity. You can also use the Ctrl + O shortcut key to open a windows explorer window, navigate to the folder that contains your Wav files and either drag and drop them into Audacity, double click, or use click open in the Explore window. - Export the files as mp3

Go to File> Export> Export as MP3. A new Export Audio window opens. Choose the folder and the name of the new file. Click on the dropdown menu for save as type. Choose mp3. Then click on options. Select bitrate mode: constant. Quality: 192kbps. Channel mode: joint stereo. Then click okay.
Once you click save, another window will open where you can edit the metadata. I usually leave it as is and click on Okay. That’ll start the conversion process. If you have multiple research interview audio files, you can add all of them to Audacity in step 3 and Audacity will convert them in a batch.
That’s it.
Here is a quick video walkthrough of converting your wav audio into mp3.