
A while back, I wrote a post about the 3 best recorders to buy recording qualitative one-on-one interviews, focus group discussions and so forth, for your dissertation or thesis study. Recently a couple of researchers got in touch with this question (I will paraphrase):
“Hello Isaac, I have a recorded interviews for my research study using a Sony ICD-B600 recorder. How do I get them to you so that you can transcribe them for me?”
A little bit of online research led me to the core of the problem. I had a similar issue years ago when I did my first research on the religion and agency. I learned to pay close attention to my equipment and plan ahead. And it is an issue that I would not like you to have while doing your research. Hopefully you are reading this before you have begun interviewing your respondents.
The basic issue I faced, and that researchers still face today, is the inability to get their recorded data from the recorder to a computer. Most older recorders, including some digital recorders do not have a USB port that you can use to transfer data to your computer.
When I did my first qualitative research, I used a tape recorder, one of those that recorded into a mini-cassette tape. I thought my recorder was pretty advanced for the time, since the alternative was to use a larger recorder that recorded the interviews to a normal sized cassette tape. Boy was I wrong. When it was time to transcribe my interviews, I could not find a transcription machine that could play the tapes. But after some struggle, I discovered a way to get the interview audio recordings into a computer as .mp3s and transcribe them. Later on in this post I will share the method I used with you.
What I’d like you to keep in mind is that if you planning to use a cassette tape recorder of any kind or a recorder that does not have a USB port, beware that it will require quite a bit of work on your part to get the recorded interviews into your computer.
As I mentioned, the problem is not limited to analog tape recorders, some of the more modern portable digital recorders do not have a USB port. Why? Manufactures do not want you to transfer your recordings from your recorder. Because, once the recorder fills up with data you have two choices. You can delete the data, or buy a new recorder. And this increases sales. In addition, you cannot share the data, or transcribe the interviews and analyze them.
Here are the worst offenders. These are the 3 most popular digital recorders that do not have a USB port that enables you to copy your interviews to your computer.
Stay Away From These Audio Recorders:
1. Olympus DP-201 Digital Voice Recorder Relatively cheap at under $30 on Amazon, but what a waste of money and time. Add $20 to your budget and get a really good recorder with a USB port. It’s well worth it.
2. Olympus VN-7200 Digital Voice Recorder. Had a list price of $80! But it now sells at under $30 on Amazon. That should tell you something.
3. Sony ICDB600 Digital Voice Recorder Goes for $60+ on Amazon and it does not have a USB port. Now that’s what I call a rip-off!
Now that you know the 3 most popular digital recorders to avoid, let me share with you the a step by step guide on how you can get the recorded interviews from a recorder that does not have a USB port into digital files, that you can transcribe, onto your computer.
How transfer audio files from Olympus DP-201, Sony ICD-B600 to your computer.
What you will need

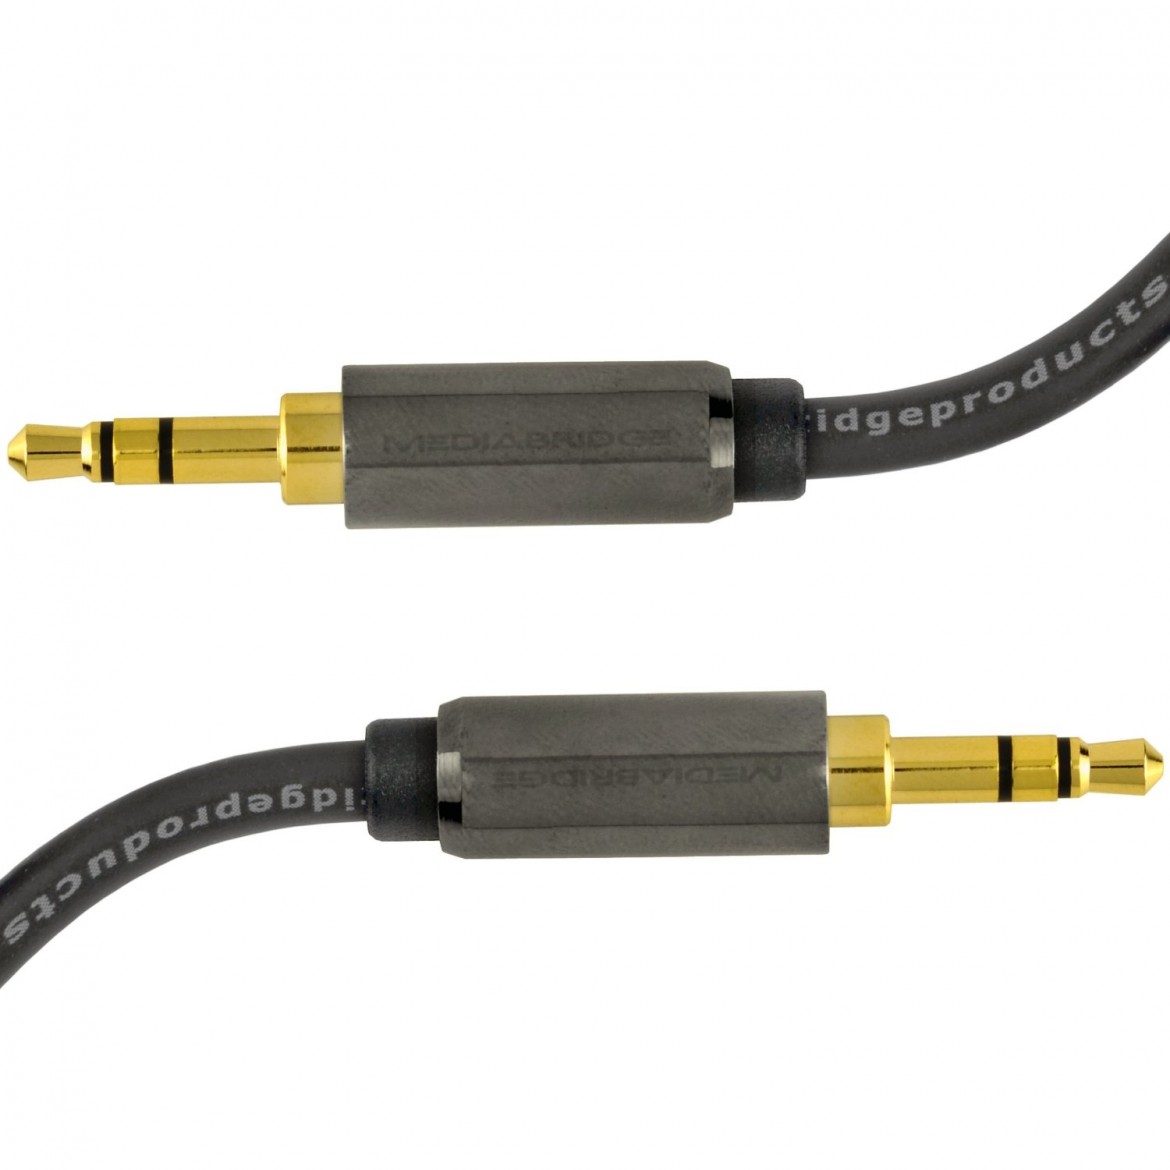
In addition to your recorder and a computer you are going to need a 3.5mm male to male audio cord. You probably haven’t come across one of these, but they are easy to get from Amazon.com. Here’s a link to a 3.5mm Male To Male Stereo Audio Cable .
You can also buy this cable from your local electronic store. Just ask for a male to male 3.5mm cable. They are also known as 1/8 inch male to male audio cable. Here is a picture of what it looks for like for your reference.
One more thing, you are going to need an audio recording software. Most computers come with one already installed. My recommendation to you is to download Audacity. This is an open-source professional audio recording software that is free. It’s simply great and very easy to use and has a Windows and Mac version.
You will also need time. This is a process is going to take a while. How long? As long as the duration of the interviews. So plan accordingly.
Once you have all that in hand you are ready to begin.
5 Steps to transferring your research data from an audio recorder with no USB port.
Step 1 : Connect the Cable
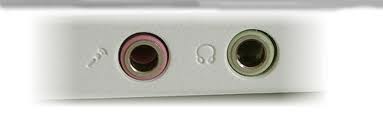
Connect the 3.5mm audio cable to your devices. This is the tricky part. And it’s only going to work if you do it right. You need to insert the cable into the headset (aka stereo) jack on your audio recorder on one end and the other end insert it into the mic jack of your computer or laptop. So headset-recorder, mic-computer. Headsets jacks are sometimes color coded as either green or black; mic jack red or pink. But on my laptop they are both black – so it can be a little confusing to tell what’s what. However, they are labeled with mic and headsets icons (see picture on the right).
If you laptop is one of the newer models that only have one jack for the headphones and mic, you will need to buy an adapter. This is a good one to buy.
Step 2: Launch Recording Software
Open up Audacity and hit record. If you are using another recording software it’s basically the same thing – launch the software and press the record button.
Step 3: Hit Play on Recorder
Hit the play button on your recorder.
Step 4: Stop the Recording
Once the recording has played to the end. Hit stop on your audio recorder and also stop your recording software on your laptop.
Step 5: Save
Save your file on your computer.
That’s it.
I strongly suggest that you first do a trial run. Basically stop the audio recorder after a minute or so and also stop the recording software on your computer. Playback the recording on your computer to see if it’s actually recorded the media.
If you are using Audacity (which I strongly recommend), you may need to select the recording input to be the computer’s mic/line in to get it to work. It all depends on what’s the default input channel is on your computer. The advantage of Audacity is that it can enable you to easily cut out any dead spaces in the beginning and at the end of the recording.
In conclusion…the simplest way to imagine this whole process is to think of the recorder as speaking to the computer. Then the computer records what the audio recorder is saying. So the recorder is sending out data to the computer and the computer records the data. And the recorder sends out the data via the stereo output (the same port you would plug in your headsets if you wanted to listen to them). The speaker receives the data via the mic input (where you would plug in your mic if you wanted to record yourself).
So that’s it in a nutshell. I hope this has been helpful to you. Comment below and let me know. And feel free to ask any questions you may have in the comment section.
This information was very helpful thank you